Showing posts with label embossing folder stamping. Show all posts

Monday, August 22, 2022

More Fluttering Fall Butterfly Cards

Variations on a theme, butterfly and flower cards... Enjoying my Gina K Fluttering Fall Layering Stencil Bundle along with some other stencils and embossing folders for backgrounds. 

NOTE: I started blogging these card in spring 2022. I am going to post these late...to remind me of the fun I had with Gina K's wonderful stamps and stencils!

The two backgrounds above were made with stencils, ink and blending brushes. 

I enjoy making backgrounds with the Embossing Folder Stamping technique. I dabbed the inkpad directly onto the raised side of the embossing folder, then spritzed with water. Placed a piece of white cardstock on it, closed the embossing folder and pressed down on it with my hands. I sometimes use a brayer to press down.


Thank you for visiting! Wishing you Peace and all good!

Monday, May 31, 2021

Butterfly Embossing Folder Stamping


To made these Embossing Folder Technique cards I dabbed the inkpad directly onto the raised side of the embossing folder, then spritzed with water. Placed a piece of white cardstock on it, closed the embossing folder and pressed down on it with my hands. I sometimes use a brayer to press down.

I set aside the paper to dry. Then after it was dry I ran it through my Cuttlebug. I generally do not run my embossing folder technique cards through the Cuttlebug, but this time I wanted to try something different. The purple card was made with Park Lane's Brush Dot embossing folder.

For the butterfly background I used the embossing folder from Momenta's Cut and Emboss 5 piece set. After the ink was dried, I tried to match the butterfly images to the embossing folder. Had to turn the paper over inside the embossing folder.


Materials Used:
Park Lane large circle embossing folder called Brush Dot, Momenta butterfly dies 
Stampin' Up 

Inks: 
Distress shaded lilac, worn lipstick, squeezed lemonade, dried marigold, abandoned coral, ripe persimmon
Stampin' Up tempting turquoise, going grey
Gina K bubble gum pink,

Stamps:
Momenta, Stampin' Up, Stampendous

Thank you for visiting. Peace and all good!

Tuesday, December 8, 2020

Embossing Folder Stamping Technique

These "embossing folder stamping technique" cards were inspired by Bev Gerard's cards here. I was glad to finally try this technique of adding images behind a dry embossed image. I substituted my Park Lane Birch Trees embossing folder since don't have the Stampin' Up! Woodland folder. 

I wanted to mention that I used SU's close to cocoa ink for the car in the card above. This was the second card I made. The car in the card below was stamped in distress brushed corduroy. The distress ink seems to blotch up when using a clear stamp. Stamping on the plastic embossing folder probably accentuates that blotchy-ness. I prefer the look of the car stamped in the SU ink. But I don't think the blotchy-ness will not be noticed by the recipient.

Getting back to the steps I used to stamp the embossing folder...

First I inked the top side of the embossing folder with the tumbled glass distress inkpad. I swiped and dabbed from the top of the folder to about  2/3's of the way down. I used a piece of scrap paper to cover the part I didn't want inked. 

For this technique , the top of the embossing folder is the part that gets inked. Usually there is printing on the outside, but the Park Lane folder did not have printing on the top. One way to check to be sure you are inking the correct side is to check that you are inking and stamping on the flat areas between the trees which are facing up. The trees are recessed! They will not "get" the ink you are applying.

I inked the bottom one third of the embossing folder with distress scattered straw.

Then I inked my car next using distress brushed corduroy in this card (Used SU close to cocoa in the first card). 

Then I inked the tree from SU's Lovely as a tree set, with distress pine needles and stamped several images on the embossing folder.

Then I placed my cardstock carefully into the stamped embossing folder and closed it and ran it through my Cuttlebug.

I used a light brown/tan Tombow marker, #992, to all the little lines on the birch trees. 

I sponged the edges of each panel afterward with distress broken china and scattered straw. Then I went around again with distress hickory smoke.

The happy birthday stamp and die is Hero Arts' DC184 Ribbon Messages, Stamp & Cut.
Used my Zig Denim marker to write the birthday years in each.

Now I will show you my mistakes: 

In the first image above, I spritzed the embossing folder with water after inking and before adding my paper. Did not turn our well as you can see.

In the second image, I tried using multiple inkpads but the colors were too squared off. Maybe if this was a geometric embossing folder instead of a nature scene? 

Thank you for visiting! Hope you have a great week!

Tuesday, October 29, 2019

Halloween Cards 2019

I started making some Halloween cards on Saturday.

Punched a circle to use as a mask for the "moon". Then sponged distress inks onto the paper: chipped sapphire, fossilized amber, peeled paint. Used hickory smoke to add cloud streaks in the moon and sky and also along edges of the paper.
Pumpkins stamped in distress carved pumpkin and colored with coloring pencils.
Used Versafine onxy black for the sentiment.
Stamps from:
Michael Strong-cloisonne alphabet (Boo), and pumpkin harvest (large pumpkins)
Posh Impressions-tree
Hero Arts-Halloween sentiment
Bat and tiny pumpkins are unmounted stamps from my stash given to me by Lynette.
Trees are from Lynette's Sizzix Branch Tree which I had in my stash.

I made six more cards on Monday.


This time I drew trees on brown cardstock and cut them out. 

After dry embossing a Darice tree, I sponged it with fall colors using distress inks:
wild honey, fired brick, peeled paint, fossilized amber, rusty hinge and gathered twigs for the tree trunk.

This tree was created with the embossing folder stamping technique.
 I like to refer to these two tutorials for the embossing folder stamping technique:
Onto the raised side of the embossing folder, I dabbed distress inks: rusty hinge, wild honey, fired brick, peeled paint, fossilized amber on the leaves and gathered twigs on the tree trunk and branches of the embossing folder. Spritzed with water. Placed a piece of watercolor paper in the embossing folder. Closed it and pressed it down with my hands. When I opened the embossing folder the tree image was transferred to the paper.

I decided to add color to the white space using a paintbrush, distress ink and water. I transferred distress ink to my craft sheet by dabbing it. In another spot, I spritzed some plain water. I wet my brush with water then grabbed some ink with the brush. In that way, I added color to the paper. It was fun playing with the color. After it dried, I added some lines  with a black XS Faber Castell PITT pen. With distress carved pumpkin ink, I stamped the tiny pumpkins on a separate piece of watercolor paper. Then added some distress inks with my paintbrush: spiced marmalade, carved pumpkin and peeled paint to color in the white areas.

Variations on a theme...hope you are not bored! I switched to faded jeans for the sky and used a favorite Penny Black tree stamp, fantasy 3880K. Used mowed lawn and my home made curvy hills templates. 

I made a Birthday/Halloween card for my friend's daughter who was born on Halloween!  I was heavy handed with the sponging of color on the dry embossed Darice tree. Cut apart a Hero Arts Happy Birthday sentiment and the Halloween sentiment combining them.

Thanks for visiting!
Hope you have a very fun Halloween!

Monday, April 15, 2019

Mason Jar Bouquet

These cards were inspired by Lindsay Weirich, 
the Frugal Crafter, and her Happy Heart Bouquet Card Tutorial.

I used 2 strips of printed papers from my stash for the background.
Die cut the oval from scraps of watercolor paper.
After stamping the vase, leaves and flowers
I used a water brush to pull color from the stamped vase
to add more blue color as shown.

The background for this card was made with embossing folder stamping technique-with pearlized acrylic paint from my stash. I like these two tutorials:
Heidi Wegman's Embossing Folder Stamping
and
Audrie Magno-Gordon's Embossing Folder Stamping

In my rush to get this card finished for a belated birthday,
 I forgot to add blue color underneath the mason jar.

Materials Used: Inksdistress broken china, worn lipstick, victorian velvet, wild honey, hickory smoke, abandoned coral, 
Stampin' Up! certainly celery, wild wasabi

Stamps- Stampin' Up!, Tim Holtz Stampers Anonymous, Judith and Heather, Hero Arts


Park Lane Rose Repeat embossing folder

Spellbinders Nestabilities Oval die
Water brush
Eyelash yarn from my stash

Thanks for visiting. Hoping you spend time with your favorite person today!

Monday, April 8, 2019

Springtime

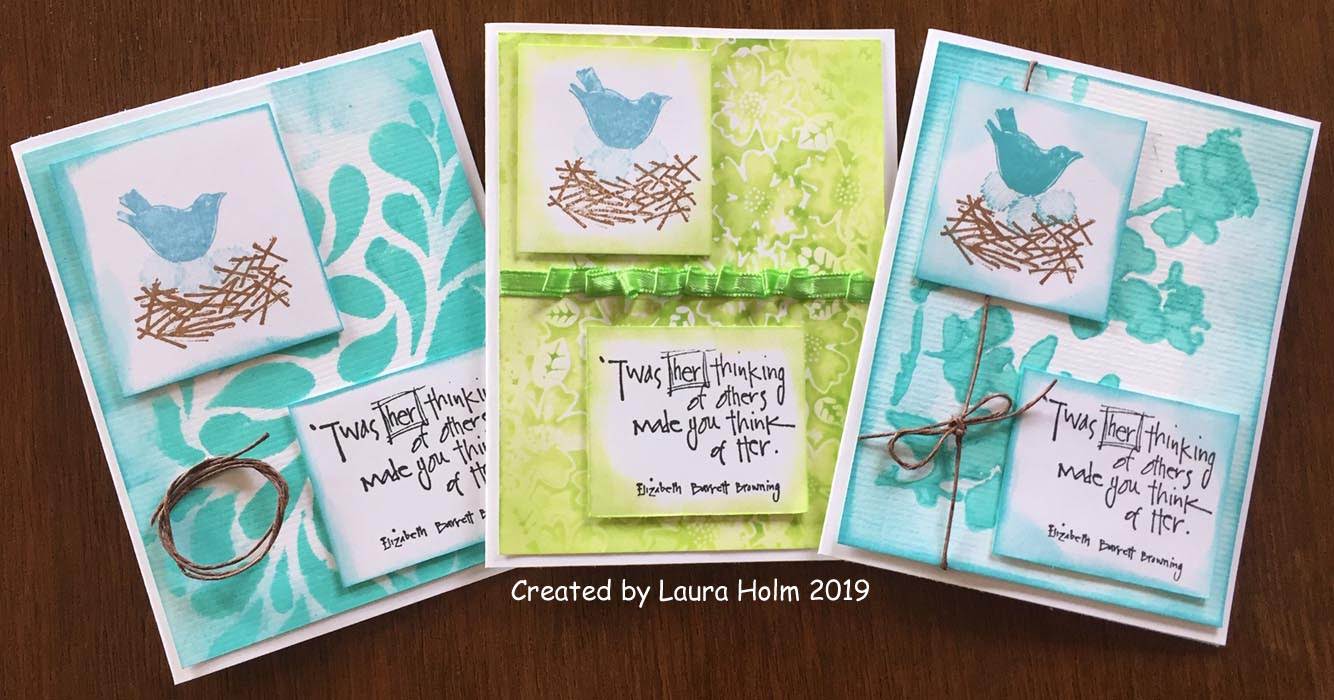
Springtime, warmer weather, the birds and their songs...just love this time of year.
Pulled out my old Printworks bird and sentiment stamps to make a few cards.
You can always click on an image to see a larger view.

This background was made from my new Gina K water droplets stencil and Dina Wakley's turquoise acrylic paint from Ranger.
Ink:
distress broken china, tumbled glass, gathered twigs
Versafine onyx black

Loops of twine attached with a flat glue dot

This background was made with Dina Wakley turquoise acrylic paint sponged onto a Tim Holtz Stampers anonymous flower stencil. I wish Tim's stencils had names to identify them.

This background was made with a Park Lane embossing folder called Flower Retreat. I used embossing folder stamping technique with twisted citron distress paint from Tim Holtz-Ranger.
Attached a ribbon cinching it as it was pressed onto a strip of "super high tack" tape-I used Scrapbook Adhesives brand.

Hoping you are enjoying a beautiful day! 

Tuesday, February 12, 2019

Valentines 2019

I had fun using embossing folder technique to make these backgrounds with acrylic paint. Used my new embossing folder called Whimsical, made by Park Lane from JoAnn's. It was on sale for $2.

If you have followed my blog, you will know that I really like these two tutorials for embossing folder stamping:
I used Adirondack Acrylic paint-Raspberry, applying it directly onto the "logo" or raised side of the embossing folder. Spritzed it with water, added paper, closed the embossing folder and pressed it down with a brayer. You can also just press with your hands.  Remove paper and set aside to air dry. Used Georgia Pacific 100 pound white card stock, but you can use watercolor paper if you wish.

When dry, I sponged the edges with distress picked raspberry ink.
Stamps used: Michael Strong and Hero Arts.

Below are some close ups and a few additional cards:
Michael Strong mini hearts were fussy cut and adhered with dimensional foam.

Sponged with distress inks: cracked pistachio, squeezed lemonade, picked raspberry.

On this background I added the paint to the "wrong" side of the embossing folder-NOT the side with the logo or raised side. It created a different look, so I added more sponging afterward. For the edges I sponged in distress hickory smoke ink.

Heat embossed Michael Strong's mini hearts on this card.


It's hard to see, but I used a strip of tulle on the side and tied it with a bow.

A loop of wide grosgrain ribbon for a bow, adhered with a glue dot.

Hope you have a very Happy Valentine's Day!
It's always been a special day for remembering...
my parents were married on Valentine's day 1953.

Wishing you heartfelt happiness today and every day!

Sunday, June 10, 2018

June 6 Waterfront Stampfest at Lynette's

Wednesday, June 6th was a fun and relaxing day!
Lynette and I had a great time playing with her new stamp set, Waterfront from Stampin' Up!
We found a lot of inspiration online!

Ashley Fifer of Stamped AF inspired this card.
Ashley has a wonderful Video tutorial there.
Using the aqua painter/water brush here and on all the cards,
gave the stamped images a watercolor look.
We used watercolor paper from Lynette's stash for all the cards shown today.
Used embossing folder stamping technique on the fronts of these two cards
by adding distress frayed burlap ink directly onto the sizzix embossing folder.
I used woodgrain and Lynette used wood planks.
Our panel was stamped with Stampin Up!'s Waterfront stamp
using distress pumice stone for the mountains
and SU so saffron for the sun.
The trees were made with SU wild wasabi and limeade.

Sage Kimball of Stampin Madly inspired this card.
Used SU almost amethyst for mountains,
distress tea dye and vintage photo for the ground,
distress broken china for the river,
SU soft sky for the sky,
distress forest moss for the trees.

Amy Koenders of Stamp with Amy K inspired this beach scene using Waterfront.
Used Fiskars dry embossing plate "Ocean" (waves) to emboss the blue layer.
The circle is a Stampin Up! Stitched Shapes Framelits die.
Used distress tea dye for the sand,
distress broken china for the water
Su so saffron for the sun (and dots on my card)
SU lucky limeade for the palm fronds
SU close to cocoa for the tree trunks.
Added some twine over the ocean waves layer.

Our inspiration for this card came from Pinterest
The card there made by Brook Beach, but the link did not go to her blog
and I was unable to find her webpage.
We changed the card using a kraft paper and a cuttlebug happy birthday embossing folder
for our 1st layer.
Lynette cut the squares with her SU Stitched Shapes framelits die.
Used distress vintage photo for the mountains,
distress peeled paint for the grass/plains
distress forest moss for the trees.
Stamped the Printworks "happy birthday" sentiment in forest moss.

We both thought the SUJ Waterfront set was so versatile and we thank
Ashley Fifer of Stamped AF
Sage Kimball of Stampin Madly
Amy Koenders of Stamp with Amy K
and
Brook Beach
sharing their cards and the process and materials they used!
Lynette and I had a ball making these cards.

THanks so much for visiting!

Tuesday, April 17, 2018

Tuesday Card of the Day

Happy Tuesday my dear friends! Hope things are going well for you!
Today's Card of the Day for the Enjoy Michael Strong Stamps Groups.io
features Michael Strong's Mini Hummingbird from his Mini Wings set.

The embossed layer was a scrap I saved.
It was made with an embossing folder stamping technique
where I DID run the paper through my Cuttlebug afterward.

1. Dabbed distress broken china and walnut inkpads
onto my Sizzix Retro Circles embossing folder
-the side with the logo

2. Spritzed with water, added the paper, closed the embossing folder

3. Ran it through my Cuttlebug.

Normally for this technique, I would skip the 3rd step
and just press the paper down with my hands.
There would be no raised surfaces, just color.

It's fun to experiment with this. Here are two tutorials I really like:
Heidi Wegman's Embossing Folder Stamping
and
Audrie Magno-Gordon's Embossing Folder Stamping

For the rest of my card, I added a strip of turquoise paper
which was dry embossed with the Flowers and Leaves folder from Spellbinders.

I made my own background on the front
by stamping repeatedly repeatedly with a "thanks" word stamp
from Stampin' UP! in distress antique linen ink.

The curvy banner is from a Hero Arts Stamp & Cuts set.
Used a piece of fiber/ribbon from my stash to tie around center layer.

Here is a look at the inside of the card
where I stamped Mike's Mini Hummingbird and sentiments from Stampin' Up.

Thank you so much for visiting!

Sunday, January 21, 2018

More Mixed Media Thinlits Cards

I have been having fun with my Sizzix Thinlits:
 Mixed Media #1 - 660220
and Mixed Media #2 - 661185.

You can see through the Mixed Media #1 die cut to my home made background made background. I used the "embossing folder stamping" technique that I shared in April 2016. Here I also stamped with a Stampin' Up! flower on top of the green pine needles with distress dried marigold. Used the Michael Strong Mini Cloisonne Butterfly and a Stampin' UP! Sentiment in the dried marigold ink on the front layer.

Used the Mixed Media #2 thinlit die on a piece of watercolor that I made previously. Sentiment  and matching die are from Hero Arts. Stampin' Up! flower stamped in mint then fussy cut.

Used the Mixed Media #2 thinlit die on white cardstock, with a pink layer underneath. Sentiment and matching die are from Hero Arts. Butterfly is cut from a Martha Stewart punch. Leaves are an old Stampin' Up!/Sizzix embosslit called Sweetest Stem.

Here is the Mixed Media #1 thinlit die used on an alcohol inked piece from my stash. Flowers are cut from Wildflowers #2 thinlits. Sentiment from Tim Holtz.

Thanks for visiting!